Ubuy Africa
Dash Cam for Cars WIFI APP Car DVR 3 Channel Front Camera Video Recorder Rear View Camera for Vehicle Black Box Car Assecories
Dash Cam for Cars WIFI APP Car DVR 3 Channel Front Camera Video Recorder Rear View Camera for Vehicle Black Box Car Assecories
Couldn't load pickup availability
SPECIFICATIONS
Assembly Mode: Portable Recorder
Audio Recorded: Yes
Battery: built-in
Brand Name: grandnavi
Built-in Screen: Yes
Camera Resolution: 1920x1080
Certification: CE
Chipset Manufacturer: Generalplus
Choice: yes
Display: IPS
Display Size: <3"
Frames Per Second: 30
GPS logger: None
Hign-concerned Chemical: None
Interface: AV-In,Micro SD/TF
Is Batteries Included: No
Item Type: Car DVR
Loop-Cycle Recording Feature: Yes
Max External Memory: 128G
Memory Card Required Reding Speed: Class 10
NightShot Function: Yes
Number Of Lenses: 3
OSD Language: Arabic,Chinese (Simplified),English,French,Hebrew,Italian,Polish,Portuguese,RUSSIA,Spanish,Turkish
Origin: Mainland China
Original Package: Yes
Power Source: Corded Electric
Screen Ratio: 4:3
Special Features: SD/MMC Card,Real Time Surveillance
Touch Screen: No
Video Format: AVI
About WIFI Connection:
Before connecting to the DVR on the phone, it is necessary to install the WIFI connection app "Viidure APP" in advance.You can search for "Viidure" installation in the Apple App Store or Google App Market.
Steps:
(1) In standby mode, long press the "M" key to enter the DVR menu and enter the WIFl setting menu;
(2)In the wifi menu of the DVR, check to obtain the wifi SSID name and password;
(3)Open the "Viidure" APP on your phone, enter the configuration mode, turn on the wifi function of the phone, follow the prompts to find the SSID wifi signal of the DVR and enter the password to connect;
(4)After successful configuration, you can connect and operate the DVR through the "Viidure" APP.
About Formatting The SD Card:
When installing a SD card for the first time, be sure to format the SD card on the DVR. After formatting, the DVR can correctly match the SD card.
Formatting Steps:
After installing the memory card, long press the "M" key to enter the DVR menu, find the format option, and click to format the memory card.
Important: Formatting the memory card on the computer is an incorrect operation. Please be sure to format the memory card on the DVR's menu option.
Important reminder:
Due to the high-speed storage requirements of high-definition DVR, please ensure to use high-quality U3 grade branded memory cards with C10 speed. Some low-quality low-priced memory cards on the market may not support DVR to function properly.
About The Reversing Assist Function:
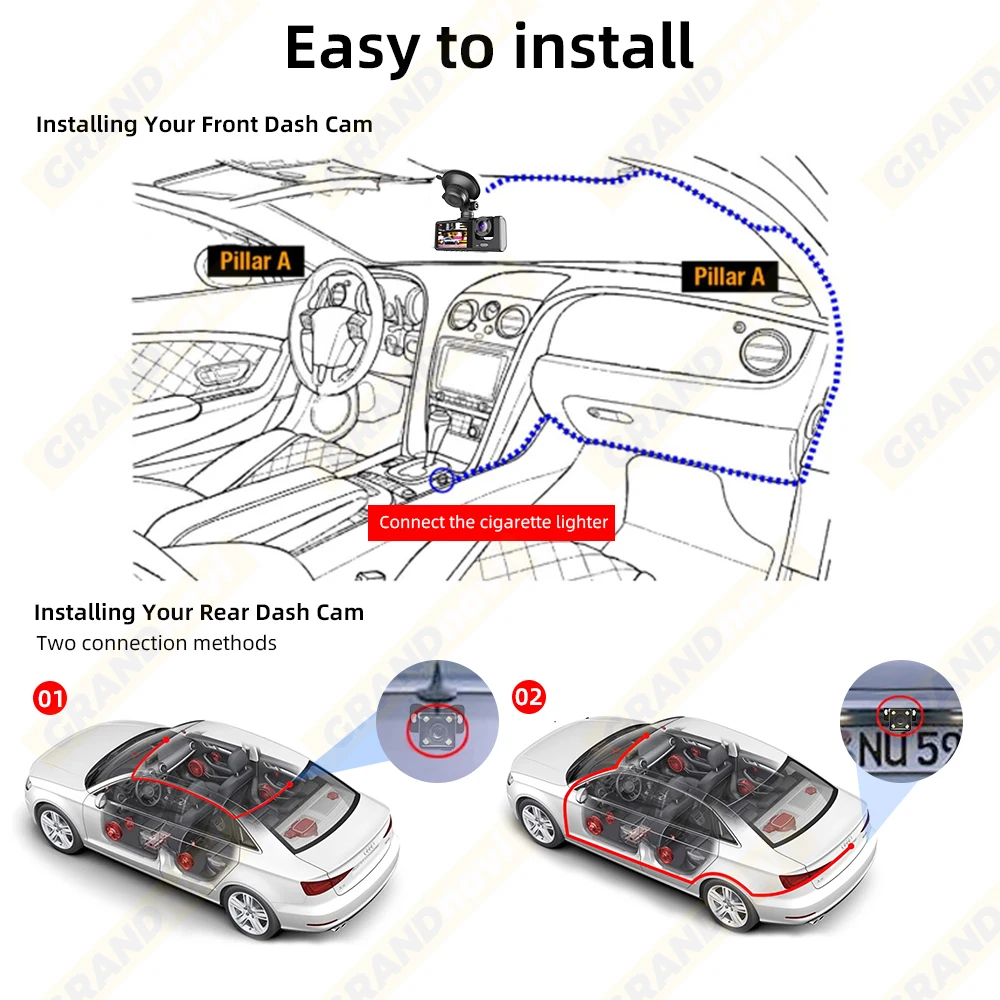
If the kit you ordered includes a rear camera and you need to implement the reversing assist function, you need to connect the red signal wire of the rear camera to the car's reversing light (the light will come on when reversing). If you don't need the reverse assist function, just disconnect the red signal wire and leave it unconnected.
About 24-Hour Parking Monitoring:
If you need the 24 hour parking monitoring function, you can order the corresponding Buck Line accessories to replace the car charger.Through Buck Line, the DVR power can be obtained directly from the car battery or car ACC, so that the DVR can maintain normal recording work even when the car is turned off.(Since different car models have different battery interfaces or ACC interfaces, it is not recommended to install it by yourself. It is recommended to find a professional to install the Buck Line.)
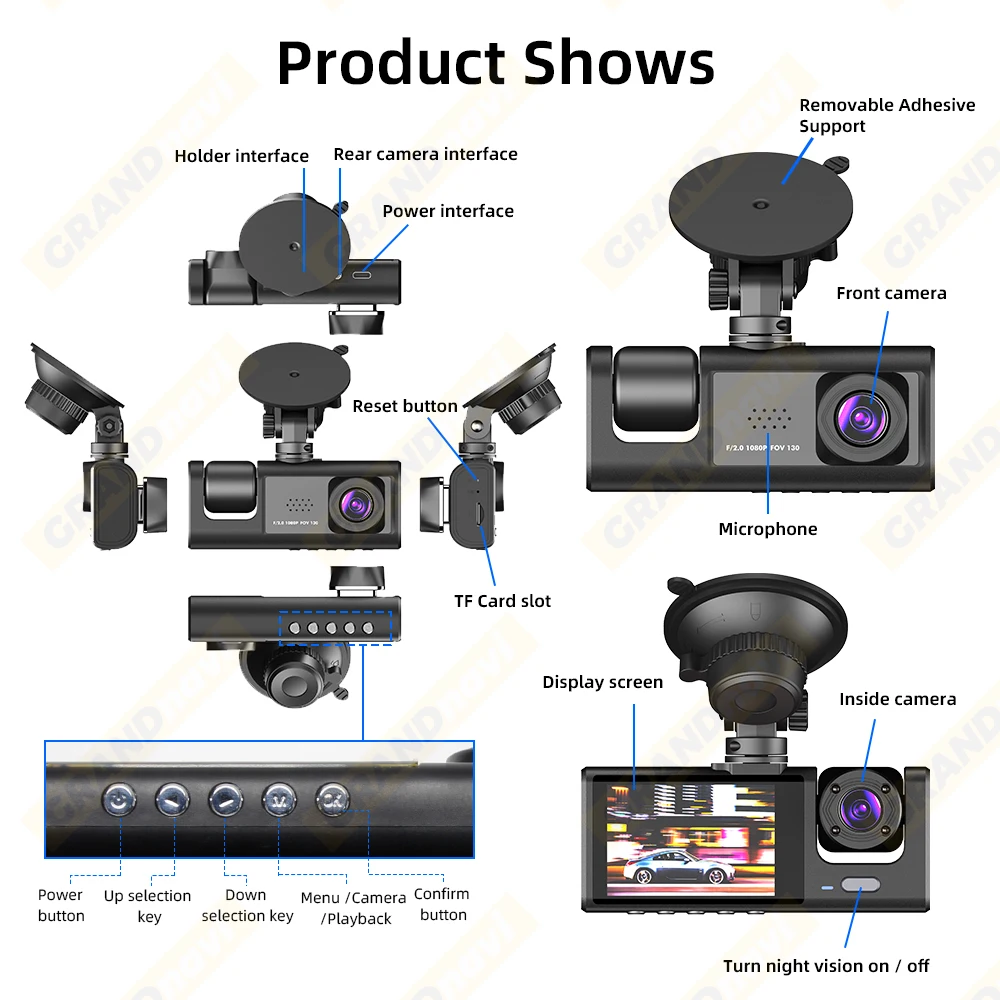
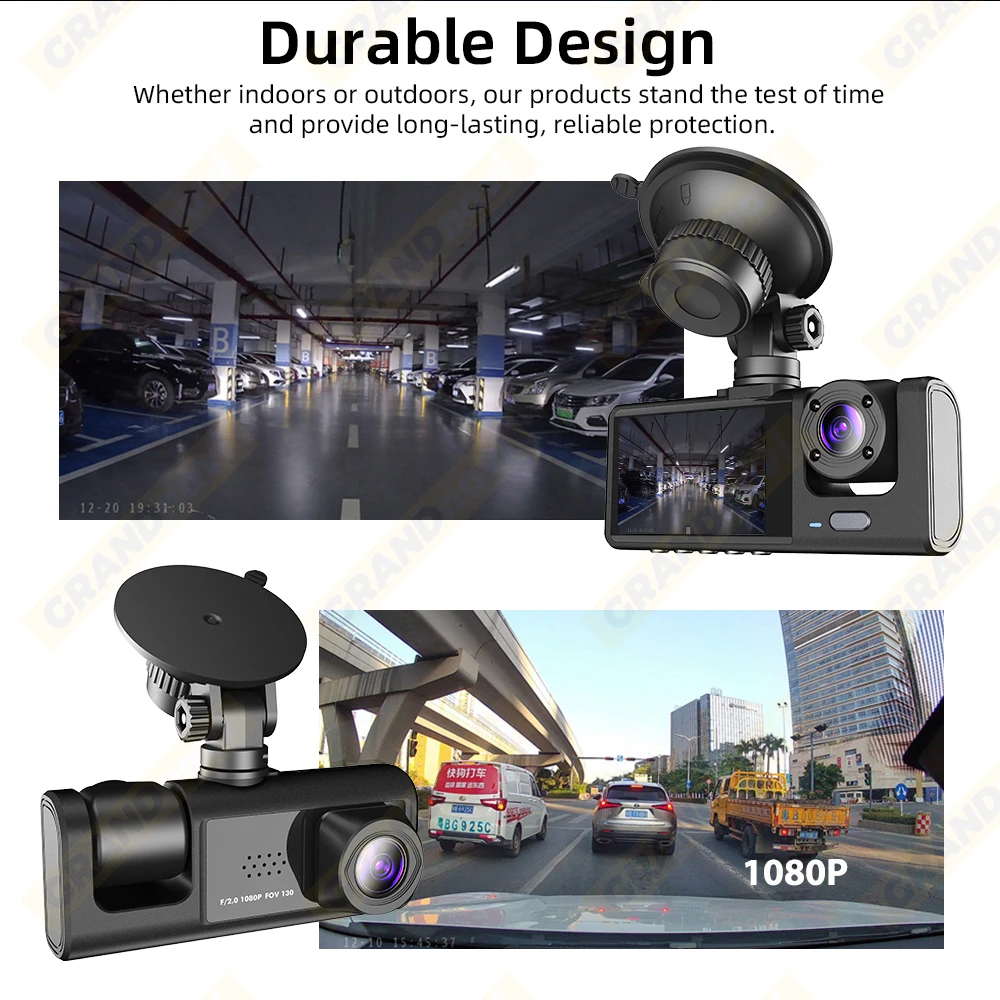
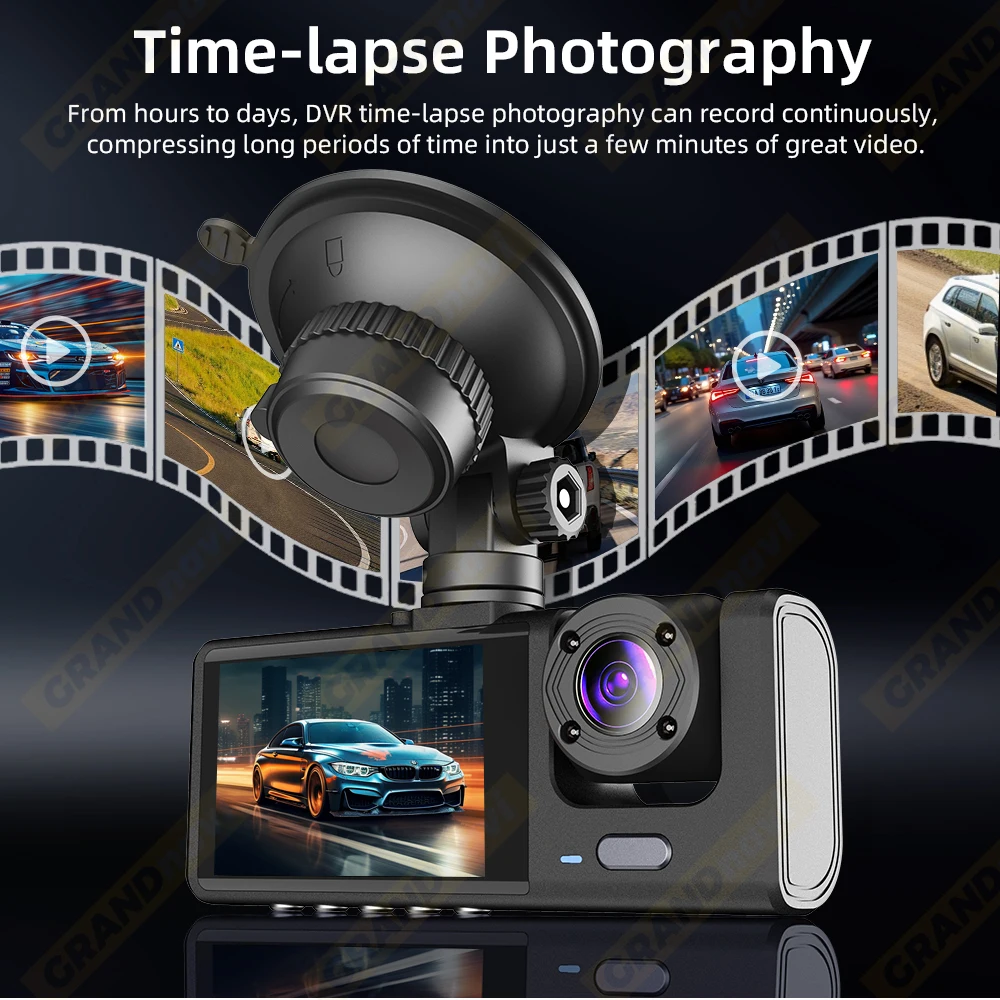
3 Lens Car Dvr Dash Cam
Attention: The reverse camera is optional

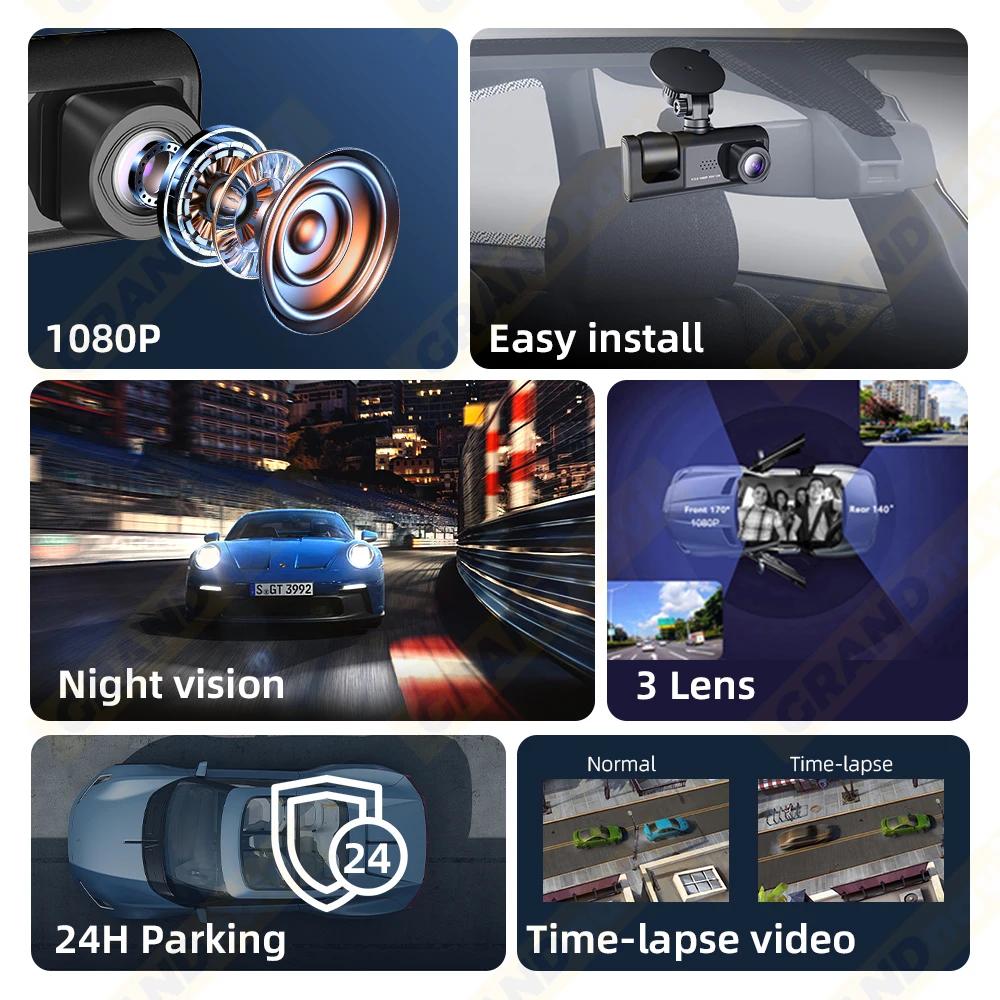
Easy to install
3 Camera Recording
Switch 3 independent viewpoints as needed for diverse scenemonitoring.

support Mobile Internet Playback
Built-in WiFi module download APP on your phoneto check the video recordinganytime you want
For specific operation steps, please refer to the "Steps" description at the top

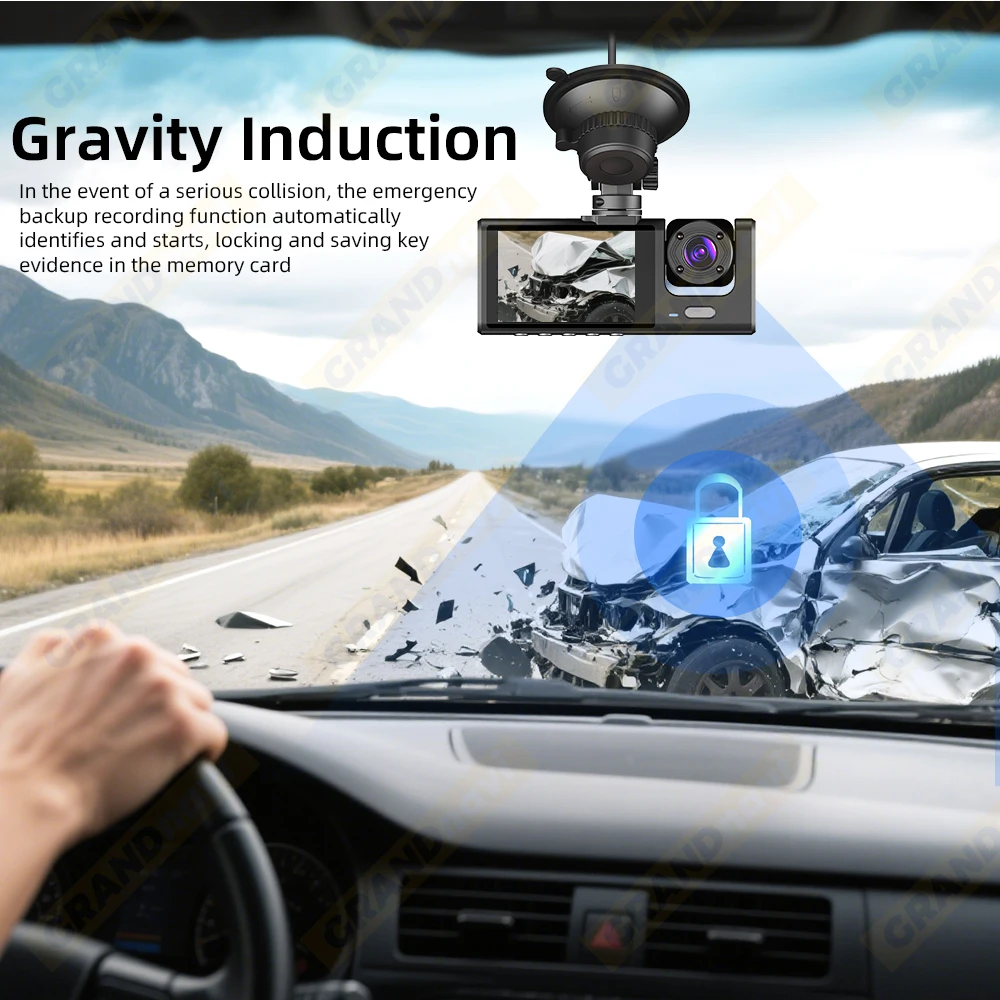
Gravity induction
24-Hour Parking Surveilance,Need buy a special buck line
If You are not sure how to install the buck line,please ask for assistancefrom professions.


Multi-language support

Button Instruction:
POWER:Turn ON/OFF The Camera: Long-press power button for 2-3s
Up key:① short press【>】to select function at the Menu interface
② in case of video recording, short press OK button to pause, then short press【>】button to switch front inside view image (require inside view lens)
③ long press【>】button to switch front-rear view image
④ In case of front-rear view image, short press OK button to pause, then short press 【>】button to switch front-rear view image (require rear view lens)
【OK】 Confirm button:short press to confirm in the menu interface , short press to video record on/off in the video mode
【M】Menu/camera/playback button:Long press for 2-3 seconds to enter the camera main menu
①Press 【OK】key to stop recording, press 【M】 to enter photo mode, press OK to take photo
②In the camera mode, press【M】to enter playback mode, press 【OK】key to playback. ③Lock function:In case of video recording, short press 【M】for a key lock function to protect the current video file, and this file will not be covered by the cycle video